This guide will help you in the T-Mobile Modem retention as well as the data fix in OnePlus 9 Pro. The ninth iteration of the devices from the Chinese OEM managed to catch the attention of the masses, though not necessary for all the right reasons. Its decision to switch from the popular OxygenOS to the bloated ColorOS received a lot of backlashes and negative reception. Owing to this the company put a temporary pause on its plan to launch the Unified OS, but still, the OxygenOS 12 is more ColorOS than OxygenOS.
Furthermore, if we talk about the T-Mobile variant of this device, then it is currently bugged with quite a few network and 5G-related issues. SIM Slots empty, carrier data not retained after reboot, signal loss after every reboot, device showing multi sim instead of single SIM, lacking support for band 41 are just some of the noteworthy issues that are currently bugging the users. If you are also in the same boat, then this guide shall show you the steps for the T-Mobile Modem retention as well as the data fix in OnePlus 9 Pro.
Table of Contents
OnePlus 9 Pro T-Mobile Modem Retention and Data Fix

The below process will wipe off all the data from your device, so take a complete device backup beforehand. Droidwin and its members wouldn’t be held responsible in case of a thermonuclear war, your alarm doesn’t wake you up, or if anything happens to your device and data by performing the below steps.
STEP 1: Things to Keep in Mind
Furthermore, in case your device ends up in a bricked or bootloop state, then please don’t use the IN or EU MSM Tool as you wouldn’t be able to then get back to stock. Rather, use the below modified MSM Tool to get back to T-Mobile Stock [Credits: XDA Senior Member libra420t]. As far as the instructions are concerned, you could check out the attached guide:
With that said, let’s now get on with the T-Mobile Modem retention and data fix guide for your OnePlus 9 Pro.
STEP 2: Download The Required Files
First off, you will need the T-Mobile EU ROM MSM Tool. Along with that, you will also need OxygenOS 11.2.9.9 and LE2125 Open Beta 1. The final requirement is the OxygenOS Data Fix Module. All this has been provided below, download them right away [Credits: XDA Senior Member libra420t].
STEP 3: Install Android SDK

First and foremost, you will have to install the Android SDK Platform Tools on your PC. This is the official ADB and Fastboot binary provided by Google and is the only recommended one. So download it and then extract it to any convenient location on your PC. Doing so will give you the platform-tools folder, which will be used throughout this guide.
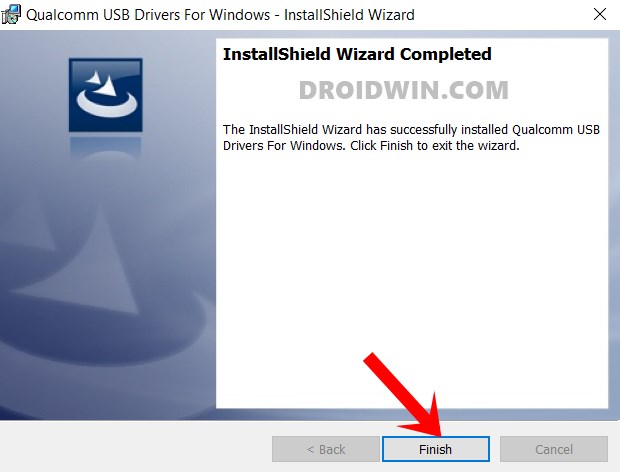
STEP 4: Install Qualcomm USB Drivers
Next up, you will have to download and install the Qualcomm USB Drivers. This is needed so that your PC (and the MSM Tool) is able to identify the connected device in EDL Mode. So refer to our guide on Qualcomm HS-USB QDLoader 9008 Drivers: Download & Install
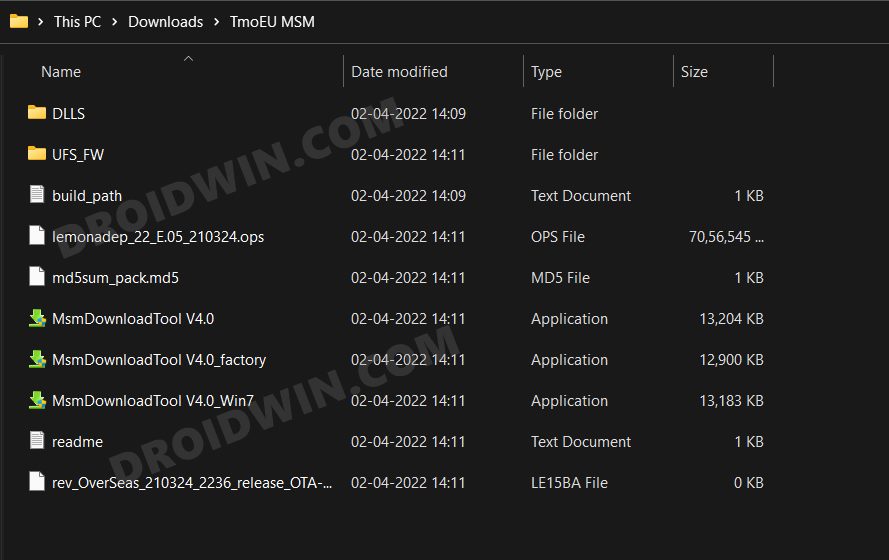
STEP 5: Extract MSM Download Tool
Once you have downloaded the tool, extract it to any convenient location on your PC. This will give you the MSM Download Tool as well as the OPS Firmware file for your OnePlus 9 Pro device.
STEP 6: Boot OnePlus 9 Pro to EDL Mode
- To begin with, power off your device.
- Then press and hold the Volume Up and Volume Down keys together.
- With both these keys pressed, connect your device to the PC via USB cable.

- That’s it. Your device is now booted to EDL Mode. To verify the same, press Windows+X and select Device Manager.
- Then expand the Other Device or Ports section and your device will be listed as Qualcomm HS-USB QDLoader 9008.
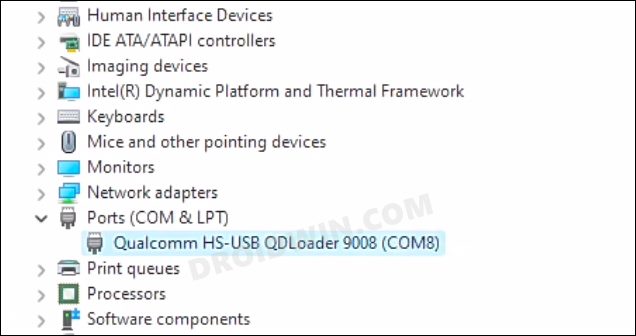
If your device is still being shown as QHUSB_BULK, then reverify driver installation, use USB 2.0 Port, or try using a different USB cable. Any one of these tweaks could fix the EDL connection error.
STEP 7: Flash T-Mobile EU via MSM Tool on OnePlus 9 Pro
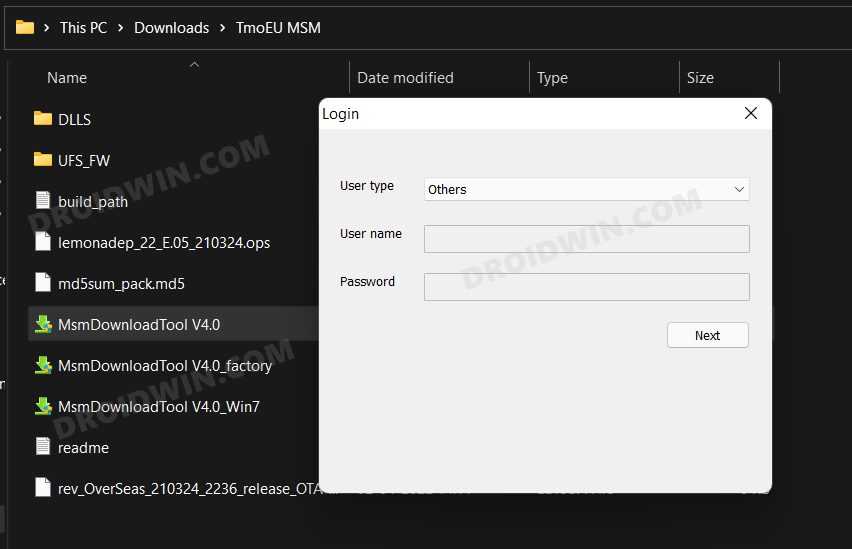
- To begin with, launch the MSM Tool by double-clicking on the MsmDownloadTool V4.0.exe file.
- In the Login screen, select Others under User Type. Leave Username and Password blank and click Next.
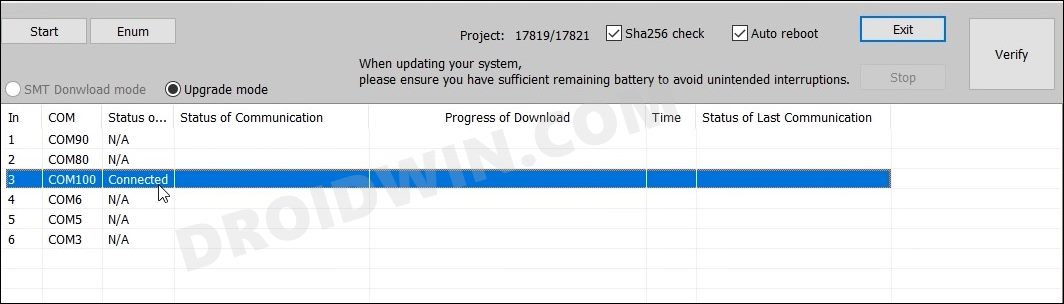
- The tool will now load and it should detect the connected device.
- You could verify the same from the COM/Status of Connection section.
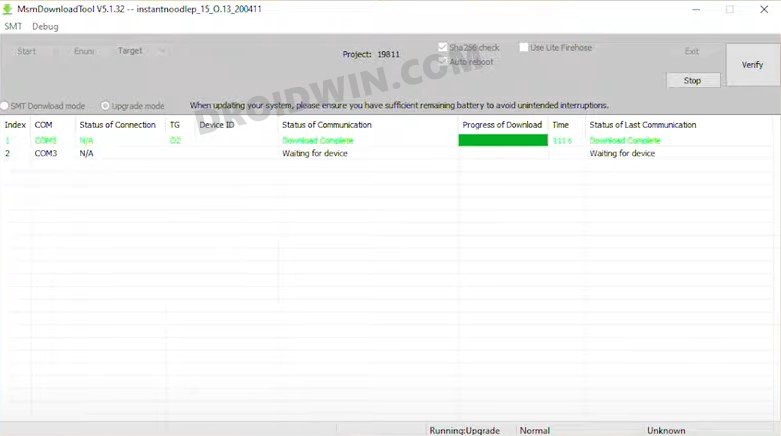
- If that’s well and good, then press Start to initiate the flashing process. It could take a few minutes for the process to complete.
- Once done, you will be notified of the same and your device will automatically boot to the OS.

STEP 8: Perform Local Upgrades
You will now have to install OxygenOS 11.2.9.9 and then the LE2125 Open Beta 1 via Local Upgrades. Some users have said that the Local Upgrade option is missing from their OnePlus 9 Pro device, if that is the case with you as well, then just install the Local Upgrade APK from below and the option will be back to its original place! Here is the step by step instructions for the same:
- To begin with, install the Local Upgrade APK onto your device.
- Then transfer both the OxygenOS 11.2.9.9 and LE2125 Open Beta 1 to your device’s internal storage (but not inside any folder).
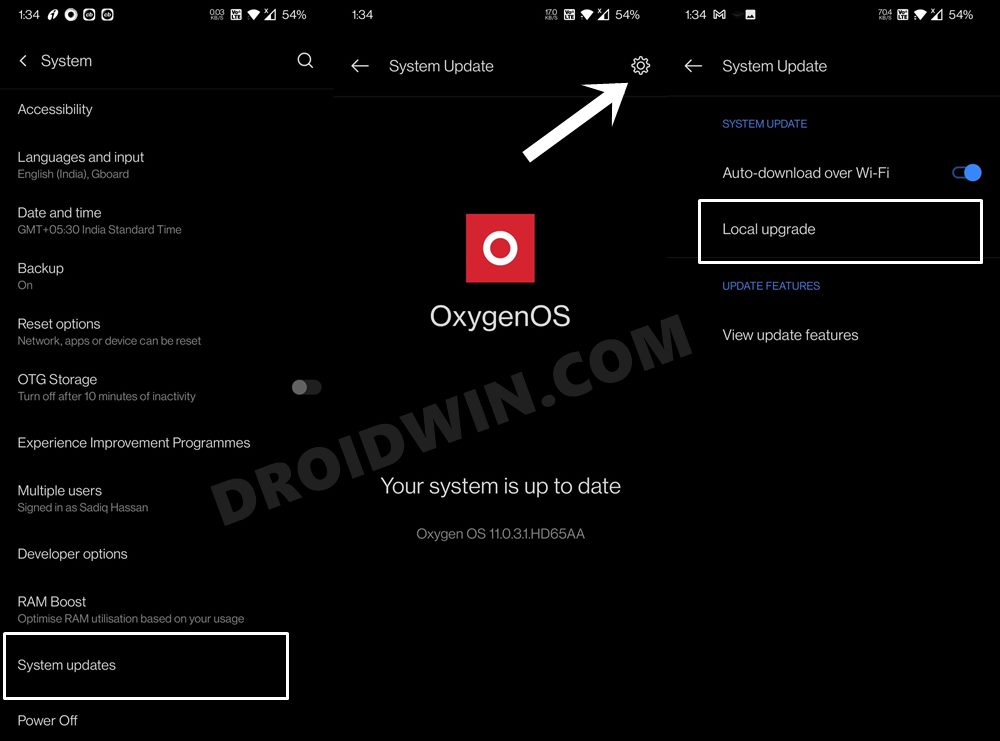
- After that, go to Settings > System > System Updates.
- Then tap on the settings icon situated at the top right and select Local Upgrade.
- Now select OxygenOS 11.2.9.9 file and it will subsequently be flashed onto your device.
- Once done, proceed in the exact same manner and install the LE2125 Open Beta 1 file.
STEP 9: Lock Modem via MSM Tool
You will now have to reflash the T-Mobile EU ROM onto your device via MSM Tool. So use the tool downloaded in STEP 2 (MSM Download Tool T-Mobile EU ROM) and refer to the instructions given in STEP 7 to flash the ROM.
STEP 10: Root OnePlus 9 Pro via Magisk
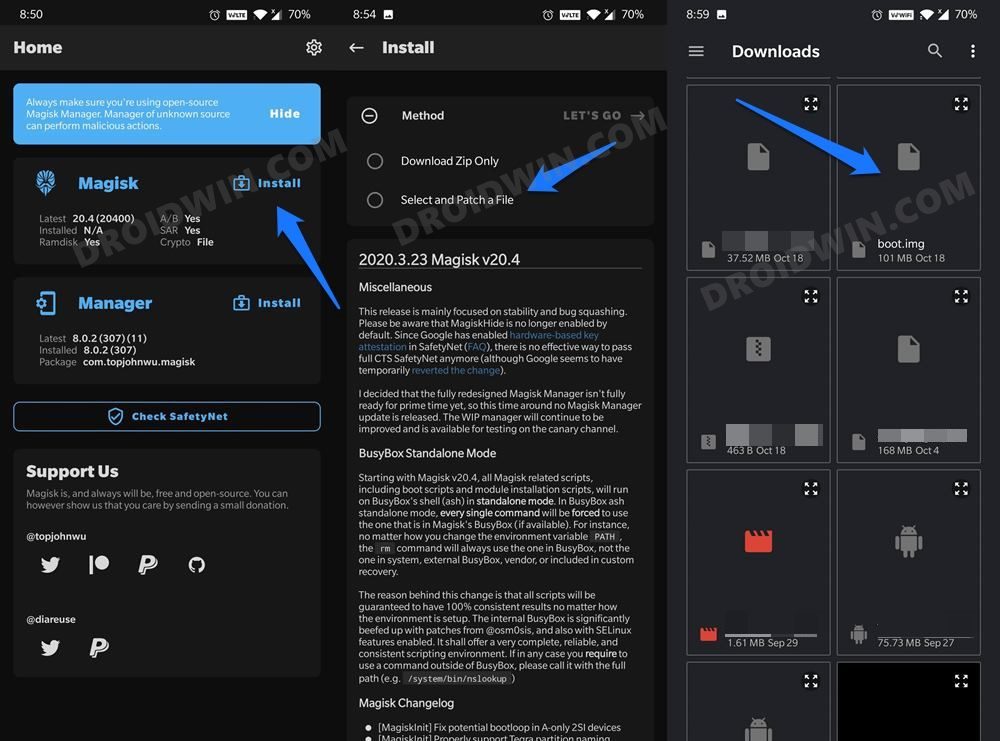
You will now have to root your OnePlus 9 Pro via Magisk patched boot.img file. This is needed to flash the Data Retain Magisk Module. So refer to our guide on Root OnePlus 9 Pro Android 12 ColorOS 12 via Magisk.
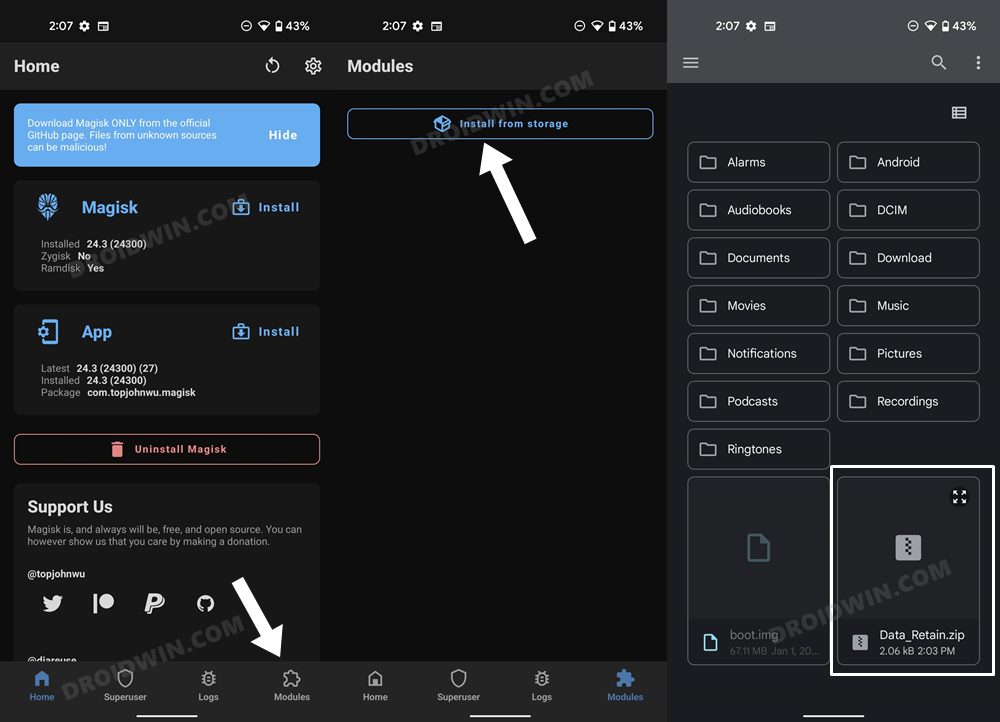
STEP 11: Flash Data Retain Module
- To begin with, transfer the download module to your device.
- Then launch the Magisk App and go to the Modules section.
- After that, tap on Install from Storage and select the module.
- It will now be flashed on your device. Once done, hit the Reboot button.
That’s it. These were the steps for the T-Mobile Modem retention and the data fix for the OnePlus 9 Pro. If you have any queries concerning the aforementioned steps, do let us know in the comments. We will get back to you with a solution at the earliest.


KAMRAN
CAN WE UNROOT AFTER THIS PROCESS?