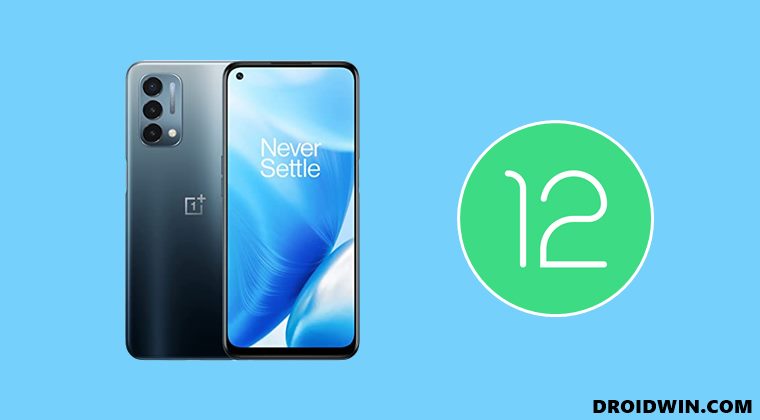
In this guide, we will show you the steps to install the Android 12 GSI ROM on your OnePlus Nord N200 5G. The Nord lineup has always managed to grab the attention of the masses. Beholding all the impressive features set at an affordable price, it seems to have check-marked most of the prerequisites with ease (well, apart from its underlying ColorOS). Along the same lines, this device is quite an active player in custom development. However, of now, its custom recovery is still a work in progress.
Hence you might not see a plethora of custom ROMs out there. But even then, there’s a plentitude of reasons to rejoice. This is because quite a few Generic System Images based on Android 12 are already up and running. Be it the LineageOS, Pixel Experience, or ArrowOS, you could welcome all of them onto your device right away. And in this guide, we will help you with just that. Given here are the detailed steps to install the Android 12 GSI ROM on your OnePlus Nord N200 5G.
Table of Contents
How to Install Android 12 GSI ROMs on OnePlus Nord N200 5G
The below instructions are listed under separate sections for ease of understanding. Make sure to follow in the exact same sequence as mentioned. Droidwin and its members wouldn’t be held responsible in case of a thermonuclear war, your alarm doesn’t wake you up, or if anything happens to your device and data by performing the below steps.
STEP 1: Install Android SDK

First and foremost, you will have to install the Android SDK Platform Tools on your PC. This is the official ADB and Fastboot binary provided by Google and is the only recommended one. So download it and then extract it to any convenient location on your PC. Doing so will give you the platform-tools folder, which will be used throughout this guide.
STEP 2: Enable USB Debugging and OEM Unlocking
Next up, you will have to enable USB Debugging and OEM Unlocking on your device. The former will make your device recognizable by the PC in ADB mode. This will then allow you to boot your device to Fastboot Mode. On the other hand, OEM Unlocking is required to carry out the bootloader unlocking process.
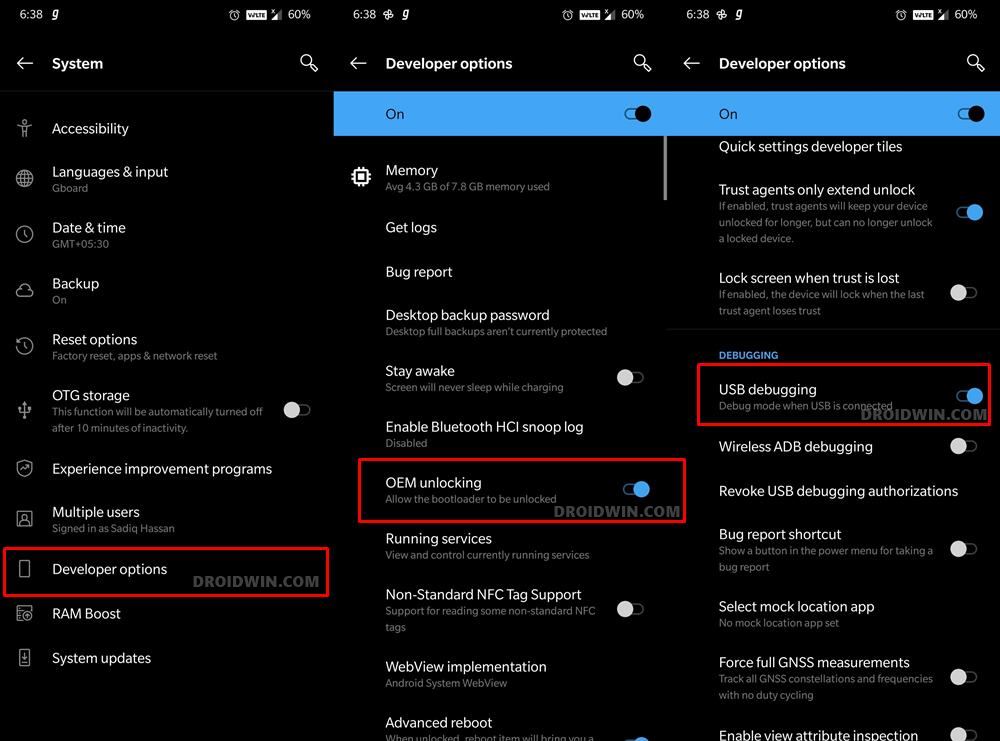
So head over to Settings > About Phone > Tap on Build Number 7 times > Go back to Settings > System > Advanced > Developer Options > Enable USB Debugging and OEM Unlocking.
STEP 3: Unlock Bootloader on OnePlus Nord N200 5G
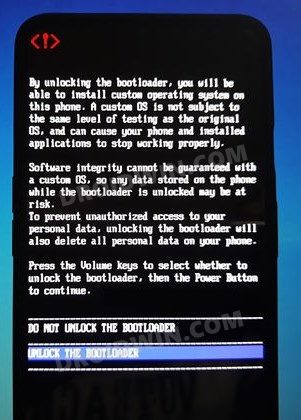
Next up, you will have to unlock the device’s bootloader as well. Do note that doing so will wipe off all the data from your device and would nullify its warranty as well. So if that’s well and good, then refer to our guide on How to Unlock Bootloader on OnePlus Nord N200 5G.
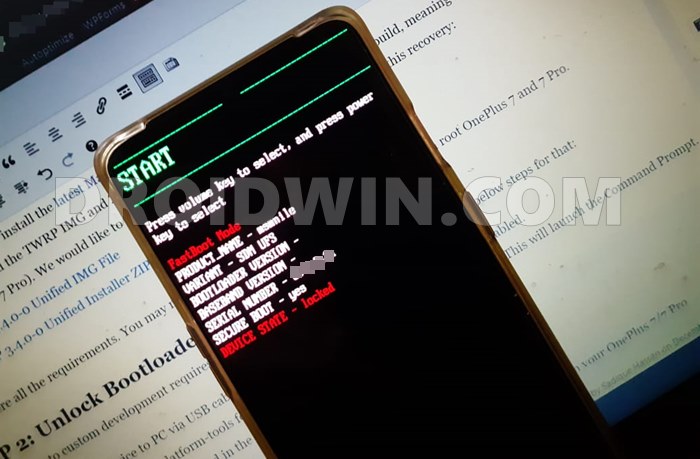
STEP 4: Boot to Fastboot Mode
- Connect your device to the PC via USB cable. Make sure USB Debugging is enabled.
- Then head over to the platform-tools folder, type in CMD in the address bar, and hit Enter. This will launch the Command Prompt.

- After that, type in the following command in the CMD window to boot your device to Fastboot Mode
adb reboot bootloader

- To verify the Fastboot connection, type in the below command and you should get back the device ID.
fastboot devices
STEP 5: Download Android 12 GSI ROMs for OnePlus Nord N200 5G
You may now download the desired Android 12 GSI ROM for your device from the below links:
- CherishOS A12
- OctaviOS A12
- SuperiorOS A12
- ArrowOS A12
- Lineage 19 A12
- LeOS A12
If you are confused about which one to opt for, then the Nord N200 community seems to be inclined towards the CherishOS, so you may opt for it as a starting point. On the other hand, LineageOS provides a stable work environment without many customizations. So for a clean and minimalistic approach, you may download that. Or if you are looking for a de-Googled ecosystem, then LeOS is the ROM to choose.
STEP 6: Install Android 12 GSI ROMs on OnePlus Nord N200 5G
- Download the FastbootD GSI Flasher Tool [Credits: XDA Senior Member popcaps1996] and extract it to any convenient location on your PC.

- After that, rename the downloaded GSI to system, so that the complete name becomes system.img.
- Now transfer this system.img file to the FastbootD GSI Flasher Tool folder.

- Make sure that your device is connected to the PC via USB cable and is booted to Fastboot.
- If that’s well and good, then double click on the #N200 GSI Installer batch file to start the flashing process. [Don’t want to use this batch file? Check out the FAQ at the end].

- The tool will ask “Are you sure you want to Flash GSI”, type in Y, and hit Enter.
- Your device will now boot to Fastboot Mode and FastbootD Modes and the required files will be flashed.
- It will then ask if you want to root your device. It is completely optional and depends on your choice. So reply accordingly with Y or N.
- After that, it will ask Do You Want To Wipe DATA? It is highly recommended that you do so. So type in Y and hit Enter.
- Finally, it will ask for your permission to reboot the device. Type in Y and hit Enter and your device will be booted to the newly installed OS.
That’s it. These were the steps to install the Android 12 GSI onto your OnePlus Nord N200 5G. If you have any queries concerning the aforementioned steps, do let us know in the comments. We will get back to you with a solution at the earliest.
FAQ: Manual Installation of GSI ROM on OnePlus Nord N200 5G
If you aren’t comfortable with executing the batch file, then you could also manually flash the GSI file onto your device using the below commands. Just make sure that the system.img [GSI ROM] is present inside the FastbootD GSI Flasher Tool folder.
- To begin with, boot your device to Fastboot Mode [see STEP 4].
- Then head over to the FastbootD GSI Flasher folder, type in CMD in its address bar, and hit Enter. This will launch the Command Prompt.

- Start off by flashing the boot.img-dre file using the below command
fastboot flash boot boot.img-dre
- Next up, execute the following command to boot your device to FastbootD Mode
fastboot reboot fastboot
- Now flash the product.img file:
fastboot flash product product.img
- Then disable the verity check by flashing the vbmeta file:
fastboot --disable-verity --disable-verification flash vbmeta vbmeta.img
- After that, use the below command to install the GSI ROM:
fastboot flash system system.img
- Next up, flash the stock boot file using the following command:
fastboot flash boot stockboot1.img
- Now if you want to root your device [optional], then execute the below command:
fastboot flash boot bootroot.img
- Then execute the below command to factory reset your device [highly recommended]
fastboot -w
- You may now reboot the device to the newly installed OS via the below command:
fastboot reboot
That’s it. These were the steps to manually install the Android 12 GSI onto your OnePlus Nord N200 5G. All your queries regarding the same are welcomed in the comments section below.

