In this guide, we will show you the steps to unbrick your Asus Zenfone 9 via Fastboot Commands. A compact device with a 6-inch display but at the same time having all the features of flagships, well this was always thought to be a distant dream. However, Asus has finally broken that tradition and has introduced a power-packed device that could easily qualify as among the most powerful compact phones as of now.
Likewise, the Zenfone series has also made a name for itself in custom development. Be it for flashing custom ROMs, installing a custom recovery like TWRP, or gaining administrative access by rooting your device via Magisk, there are a plethora of things to try out. However, this is just one side of the coin. Carrying out these tweaks might prove to be risky as well.
Just a slight deviation and there’s every chance of your device going into a bootloop or bricked state. Fortunately, even if that happens, you could easily bring your device back to life. And in this guide, we will show you how to do just that. Given here are the detailed steps that shall help you unbrick your Asus Zenfone 9 via Fastboot Commands. Follow along.
Table of Contents
How to Unbrick Asus Zenfone 9
The below process will wipe off all the data from your device. So take a complete device backup beforehand by any means possible. Droidwin and its members wouldn’t be held responsible in case of a thermonuclear war, your alarm doesn’t wake you up, or if anything happens to your device and data by performing the below steps.
The first two methods will work in soft brick or bootloop devices wherein you could at least access the Fastboot Mode. On the other hand, the third method will only work for hard-bricked devices, i.e. it could only access the EDL Mode.
METHOD 1: Unbrick Zenfone 9 via Fastboot Commands
STEP 1: Install Android SDK

First and foremost, you will have to install the Android SDK Platform Tools on your PC. This is the official ADB and Fastboot binary provided by Google and is the only recommended one. So download it and then extract it to any convenient location on your PC. Doing so will give you the platform-tools folder, which will be used throughout this guide to unbrick your Asus Zenfone 9 via Fastboot commands.
STEP 2: Download Asus Zenfone 9 Firmware
Next up, download the stock firmware for your device from the below link.
Asus Zenfone 9 Firmware: Download Link
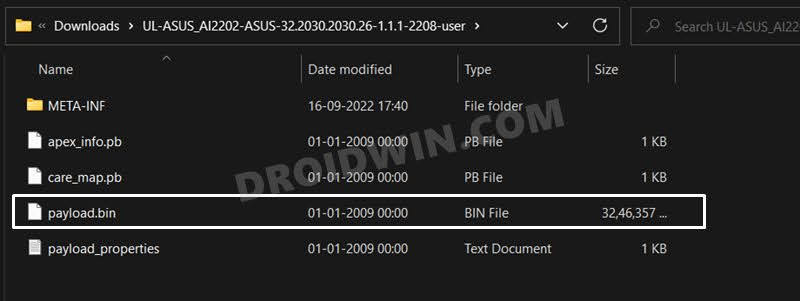
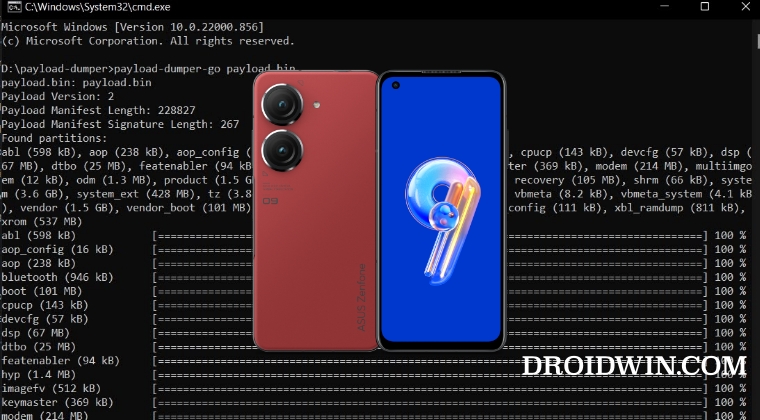
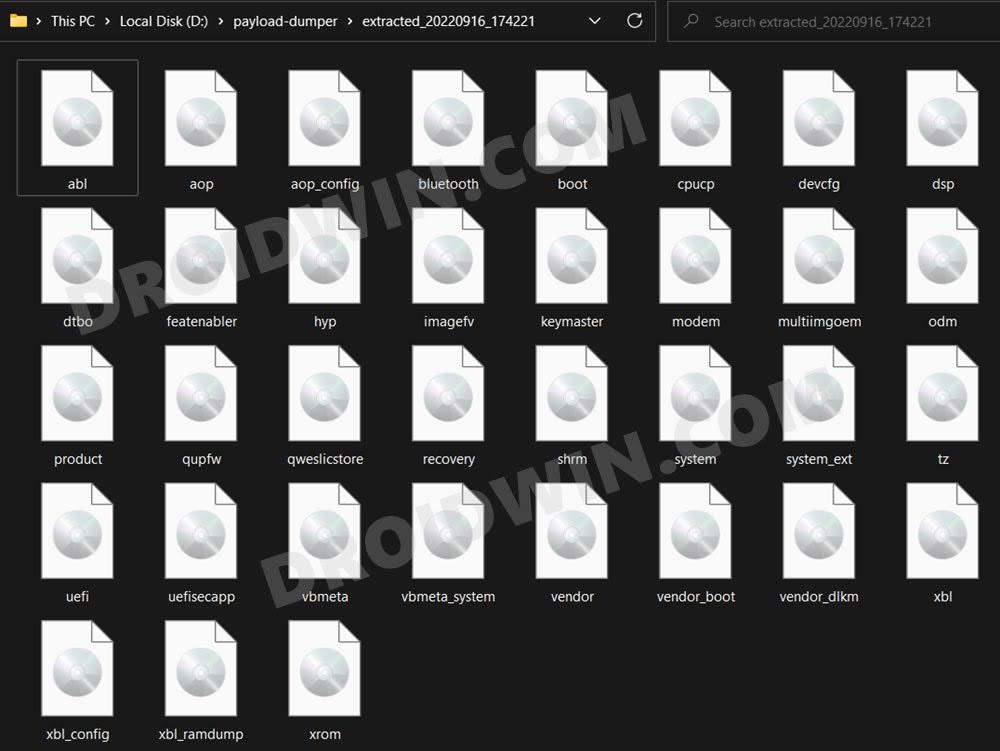
STEP 3: Extract Asus Zenfone 9 Payload.bin
Once you have downloaded the firmware, you will get a couple of files, including the payload.bin. So you will now have to extract it and get the resultant IMG files. To do so, you may refer to our guide on How to Extract Payload.bin file.
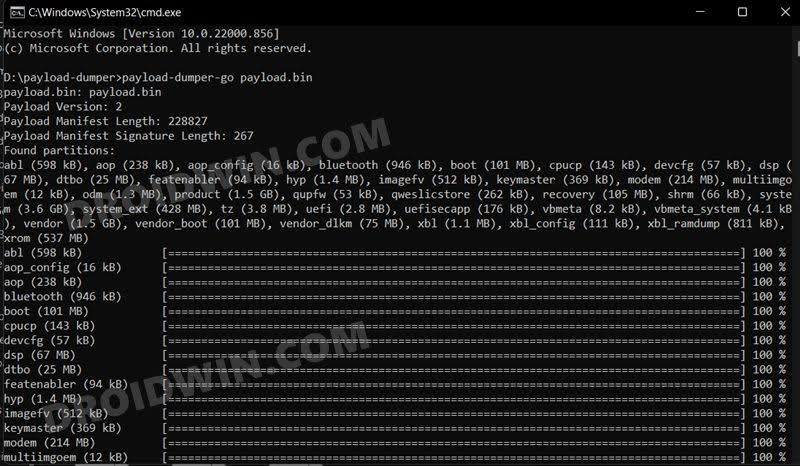
Once extracted, make sure to transfer all the files to the platform-tools folder.
STEP 4: Boot Bricked Zenfone 9 to Fastboot Mode
In most cases, a soft-bricked or boot-looped device might already be in the Fastboot Mode. However, if you are stuck in a bootloop, then long-press the Power key to turn it off. Then press and hold the Power and Volume Down keys (or Power and Volume Up in some devices) together to boot your device to Fastboot Mode.
However, if you are unable to power off the device, then let its battery drain out. Once that happens, connect it to the charger. Then as soon as it is about to boot up, use the Power and Volume Up/Down keys and it will straightaway boot to Fastboot Mode.
STEP 5: Format Zenfone 9 via Fastboot
- Head over to the platform-tools folder’s address bar, type in CMD in its address and hit Enter. This will launch the CMD window.

- Now execute the below command to perform a factory reset (optional but recommended)
fastboot -w

STEP 6: Flash Asus Zenfone 9 Firmware via Fastboot
Now execute the below commands in the CMD window one at a time. Moreover, if you get any errors, then don’t leave the process mid-way. Rather execute the rest of the commands and then verify the results at the end. Moreover, the last command listed below [fastboot reboot] should automatically reboot your device to the OS.
fastboot flash abl abl.img
fastboot flash aop aop.img
fastboot flash aop_config aop_config.img
fastboot flash bluetooth bluetooth.img
fastboot flash boot boot.img
fastboot flash cpucp cpucp.img
fastboot flash devcfg devcfg.img
fastboot flash dsp dsp.img
fastboot flash dtbo dtbo.img
fastboot flash featenabler featenabler.img
fastboot flash hyp hyp.img
fastboot flash imagefv imagefv.img
fastboot flash keymaster keymaster.img
fastboot flash modem modem.img
fastboot flash multiimgoem multiimgoem.img
fastboot flash odm odm.img
fastboot flash product product.img
fastboot flash qupfw qupfw.img
fastboot flash qweslicstore qweslicstore.img
fastboot flash recovery recovery.img
fastboot flash shrm shrm.img
fastboot flash system system.img
fastboot flash system_ext system_ext.img
fastboot flash tz tz.img
fastboot flash uefi uefi.img
fastboot flash uefisecapp uefisecapp.img
fastboot flash vbmeta vbmeta.img
fastboot flash vbmeta_system vbmeta_system.img
fastboot flash vendor vendor.img
fastboot flash vendor_boot vendor_boot.img
fastboot flash vendor_dlkm vendor_dlkm.img
fastboot flash xbl xbl.img
fastboot flash xbl_config xbl_config.img
fastboot flash xbl_ramdump xbl_ramdump.img
fastboot flash xrom xrom.img
fastboot reboot
That’s it. These were the steps to unbrick your Asus Zenfone 9 via Fastboot Commands. If you have any queries concerning the aforementioned steps, do let us know in the comments. We will get back to you with a solution at the earliest.
Method 2: Unbrick Asus Zenfone 9 Using FastbootD Mode
- If the aforementioned method didn’t work out for you, then there’s an alternate way out as well. You could flash the partition files in the FastbootD Mode and then test out the results.
- To begin with, boot your device to Fastboot Mode using the below command:
adb reboot bootloader
- Then flash the following three partition files in this Fastboot Mode:
fastboot flash recovery recovery.img
fastboot flash boot boot.img
fastboot flash dtbo dtbo.img
- After that, boot your device to the FastbootD Mode using the below command
fastboot reboot fastboot
- Now flash the rest of the partition files in this mode [use the commands listed in the above section].
- Once done, you may now boot your device to the OS via the following command:
fastboot reboot
METHOD 3: Unbrick Asus Zenfone 9 via EDL
If your device isn’t able to boot to Fastboot/FastbootD Mode, then you wouldn’t be able to carry out the two methods listed above. In such cases, your only course of action is to boot your device to Emergency Download Mode and then flash the unbrick firmware.
- To begin with, boot your Zenfone 9 to EDL Mode and then connect it to your PC via a USB cable.
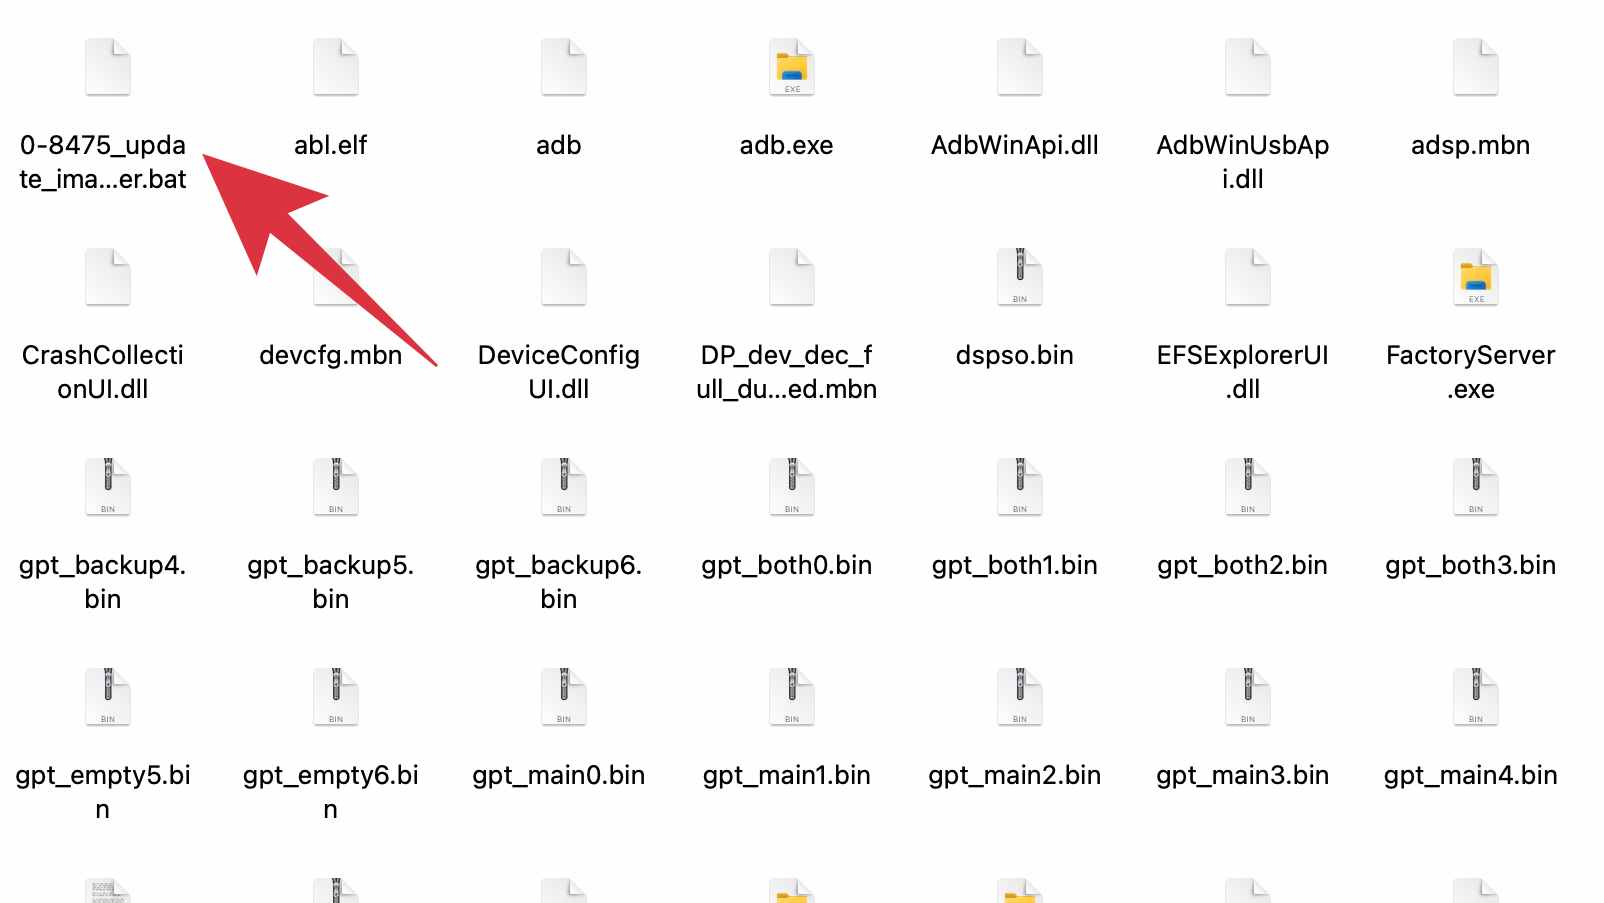
- Then download and extract the ZenFone 9 Repair to bootloader package [Credits: XDA Senior Member EdwardWu6688].
- After that, launch the 0-8475_update_image_EDL_fh_loader.bat script to start the flashing process.
- Once done, boot your device to stock recovery via the below command:
fastboot reboot recovery
- Then download the full OTA package firmware version 32.2004.2004.84.
- Finally, flash the firmware via the ADB Sideload option of stock recovery.