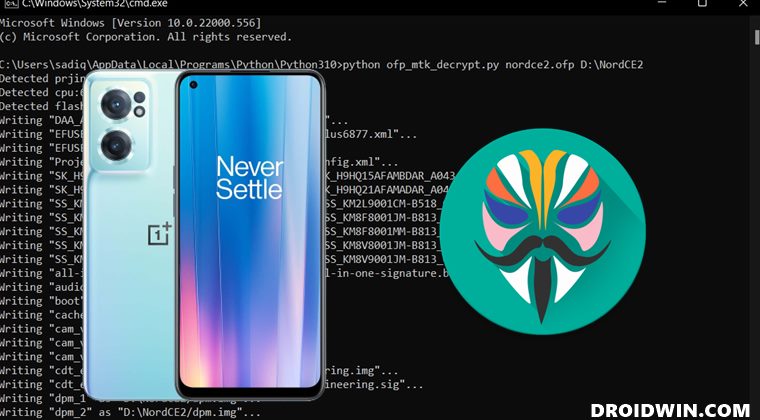
In this guide, we will show you the steps to root your OnePlus Nord CE 2 via Magisk patched boot.img and the OFP firmware. The latest budget offering from the Chinese OEM beholds an impressive feature set. With an octa-core MediaTek Dimensity 900 chipset, 128GB storage, 8GB RAM, 65W fast charging, and 90Hz refresh rate screen, there’s a lot to look forward to. Likewise, it comes with Android 11 OxygenOS 11 out of the box, which is a blessing in disguise for many of us out there.
But since the device has recently been released, there’s not much happening for it in the custom development. While you could unlock the device’s bootloader, but that’s just about it. There’s no custom ROM, recovery, or any module as such that you could welcome abode onto your device. Then the fact that the official firmware hasn’t been hosted by OnePlus yet only makes the matter worse. But even then, we managed to get hold of the OFP firmware, and using it, we will show you how to root your OnePlus Nord CE 2 via Magisk. Follow along.
Table of Contents
How to Root OnePlus Nord CE 2 via Magisk and OFP Firmware
The below instructions are listed under separate sections for ease of understanding. Make sure to follow the same sequence as mentioned. Droidwin and its members wouldn’t be held responsible in case of a thermonuclear war, your alarm doesn’t wake you up, or if anything happens to your device and data by performing the below steps.
As of now, I am on the firmware version IV2201_11_A.10. If you are also on the same build, then you may directly download the boot.img file from here, skip STEP 1 and 2 and start with STEP 3. Download: boot_IV2201_11_A.10_NordCE2_Droidwin.img
STEP 1: Download OnePlus Nord CE 2 Firmware
To begin with, download the firmware file for your device from below. Do note that at the time of writing, OnePlus hasn’t yet officially hosted the firmware file for your device, the one that we shared below has been provided by XDA Recognized Developer deadman96385.
- IV2201_11_A.09: IV2201GDPR_11_A.09_2022012611310125.zip
- IV2201_11_A.10: IV2201GDPR_11_A.10_2022022117150169.zip
STEP 2: Extract OnePlus Nord CE 2 OFP Firmware
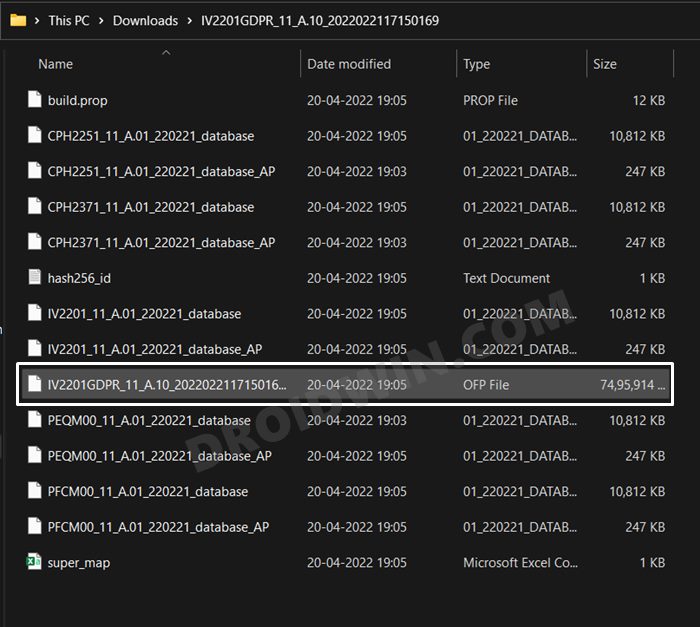
- Once you have downloaded the firmware, extract it to any convenient location on your PC. This will give you an OFP file [along with a few others].

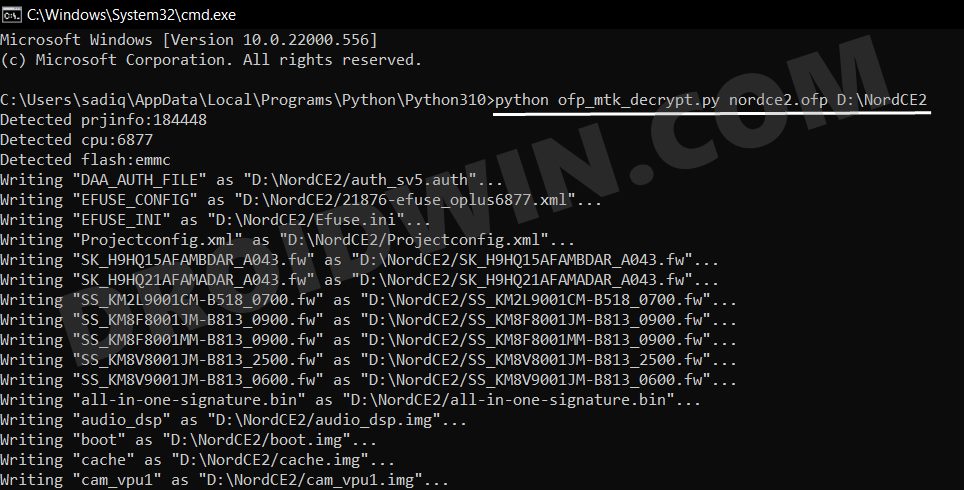
- All the partition files, including the boot.img, are present inside this OFP file. So you will have to extract it, using the instructions given here- How to Extract OnePlus OFP Firmware File.
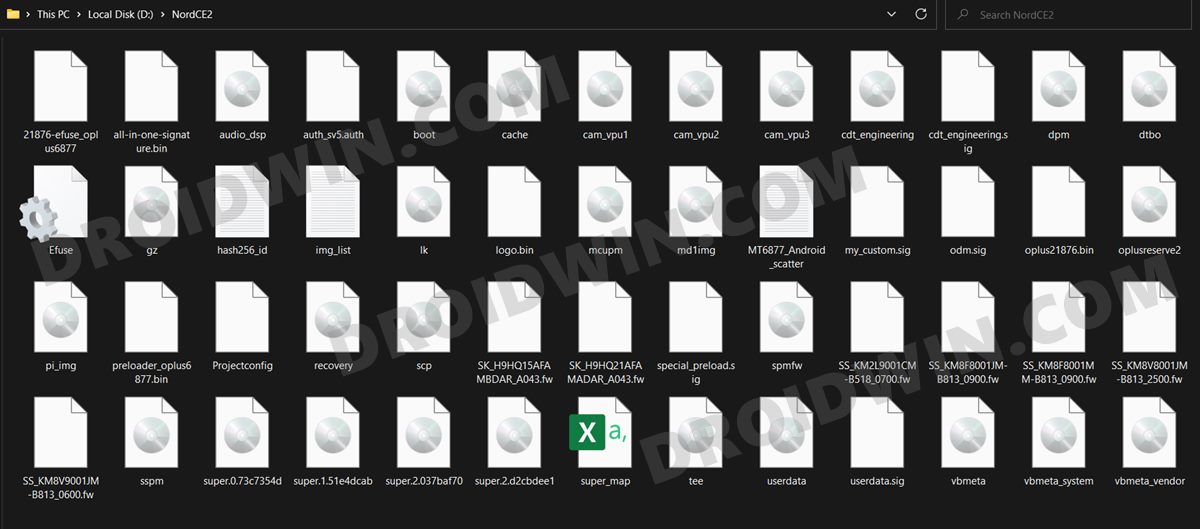
- Once the extraction is complete, you will get various partition files. Copy the boot.img from there and transfer it to your device.
STEP 3: Install Android SDK
You will have to install the Android SDK Platform Tools on your PC. This is the official ADB and Fastboot binary provided by Google and is the only recommended one. So download it and then extract it to any convenient location on your PC. Doing so will give you the platform-tools folder, which will be used throughout this guide.

STEP 4: Enable USB Debugging and OEM Unlocking
You will have to enable USB Debugging and OEM Unlocking on your device. The former will make your device recognizable by the PC in ADB mode. This will then allow you to boot your device to Fastboot Mode. On the other hand, OEM Unlocking is required to carry out the bootloader unlocking process.
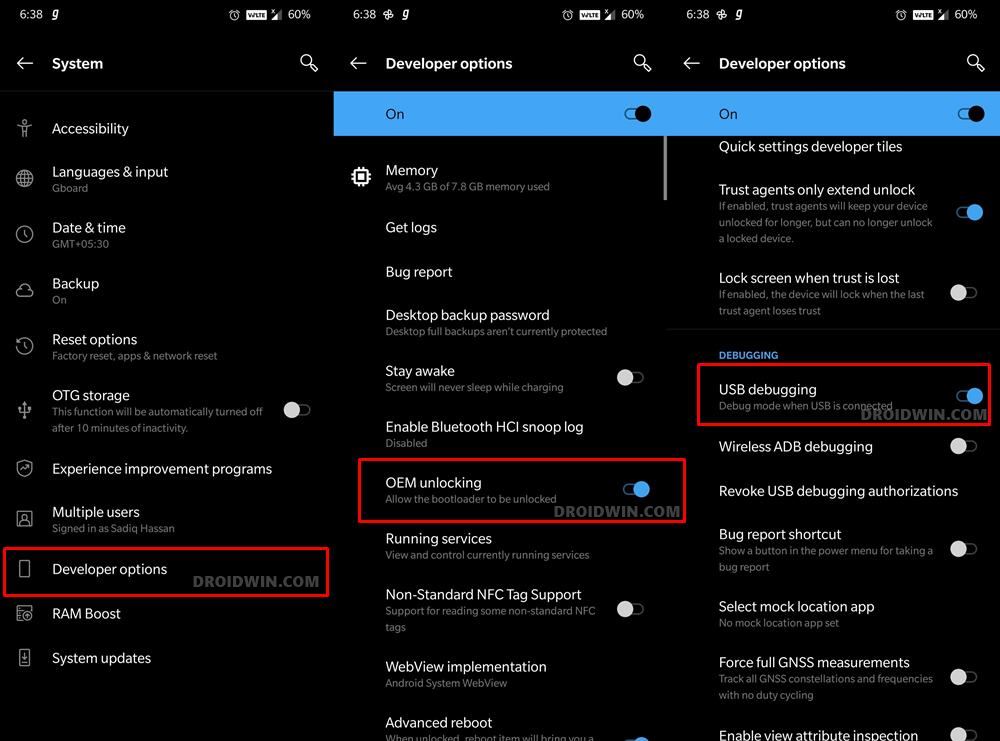
So head over to Settings > About Phone > Tap on Build Number 7 times > Go back to Settings > System > Advanced > Developer Options > Enable USB Debugging and OEM Unlocking.
STEP 5: Unlock Bootloader on OnePlus Nord CE 2
Next up, you will also have to unlock the device’s bootloader. Do keep in mind that doing so will wipe off all the data from your device and could nullify its warranty as well. So if that’s all well and good, then please refer to our detailed guide on How to Unlock Bootloader on OnePlus Nord CE 2.
STEP 6: Patch Boot.img via Magisk
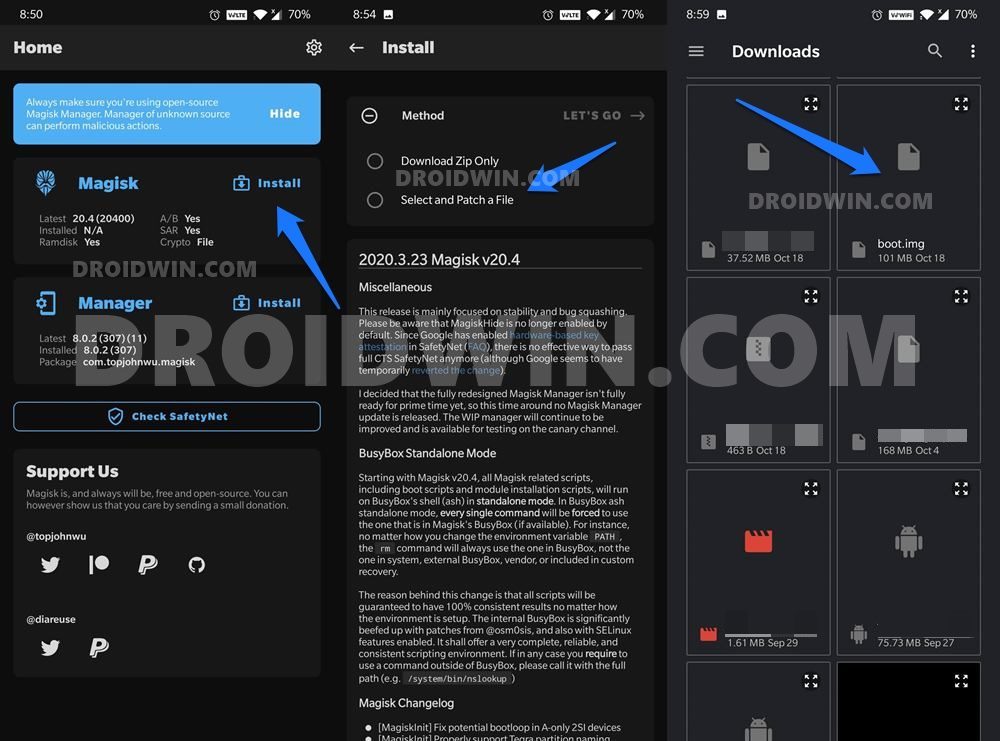
- First off, install the Magisk App onto your device
- Then tap on the Install button situated next to Magisk.
- From the Method section, choose Select and Patch a file.
- Browse to the extracted boot.img file and select it.
- Then tap on the Let’s Go option situated at the top right.
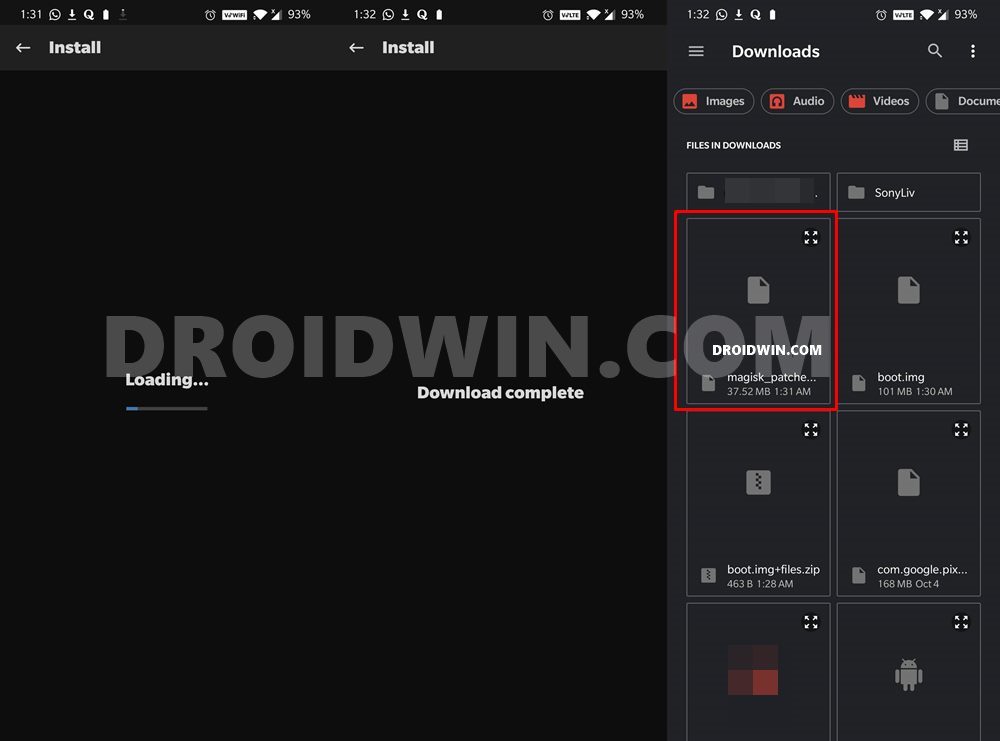
- Magisk will now load the boot.img file and will patch it accordingly.
- Once that is done, you would get the Download Complete message.
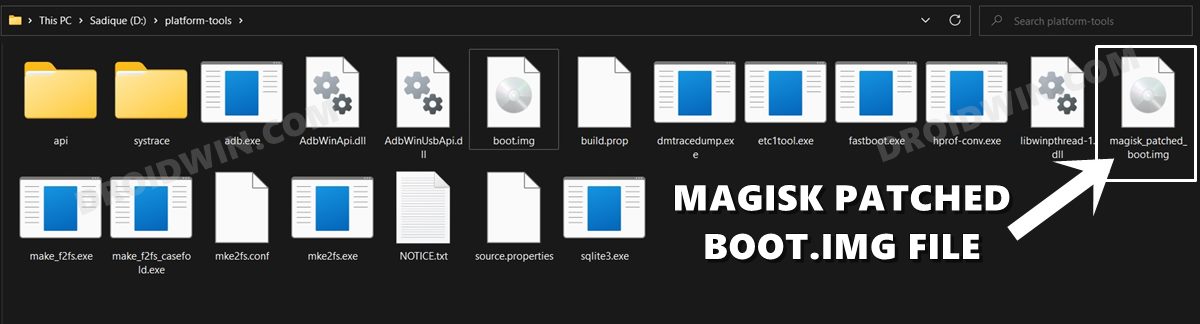
- You could access the patched boot file from Internal Storage > Downloads.
- Make sure to transfer this file to the platform-tools folder on your PC.
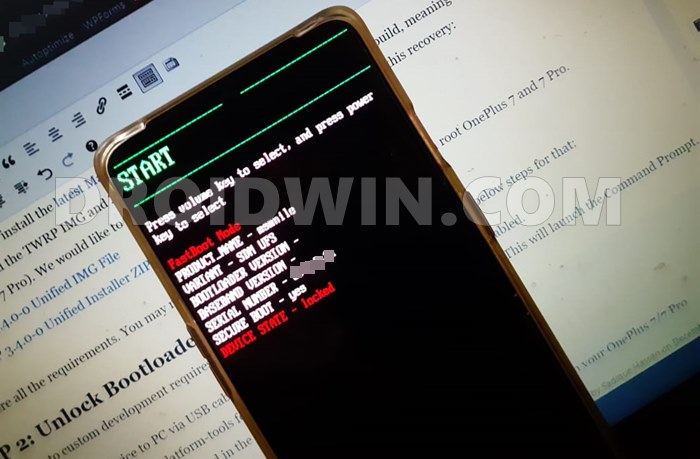
STEP 7: Boot to Fastboot Mode
- Connect your device to the PC via USB cable. Make sure USB Debugging is enabled.
- Then head over to the platform-tools folder, type in CMD in the address bar, and hit Enter. This will launch the Command Prompt.

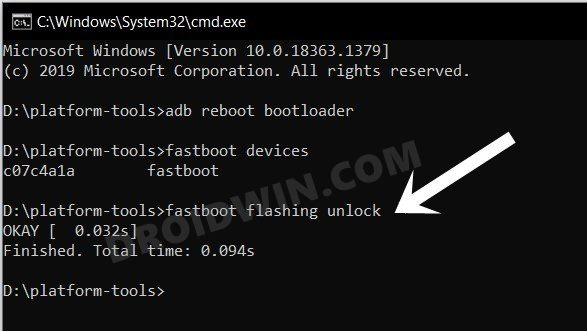
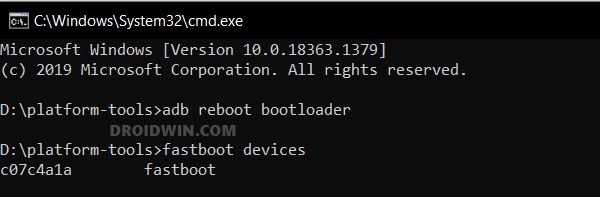
- After that, type in the following command in the CMD window to boot your device to Fastboot Mode
adb reboot bootloader
- To verify the Fastboot connection, type in the below command and you should get back the device ID.
fastboot devices
STEP 8: Root OnePlus Nord CE 2 via Magisk
- To begin with, rename the patched boot file to magisk_patched_boot.img.
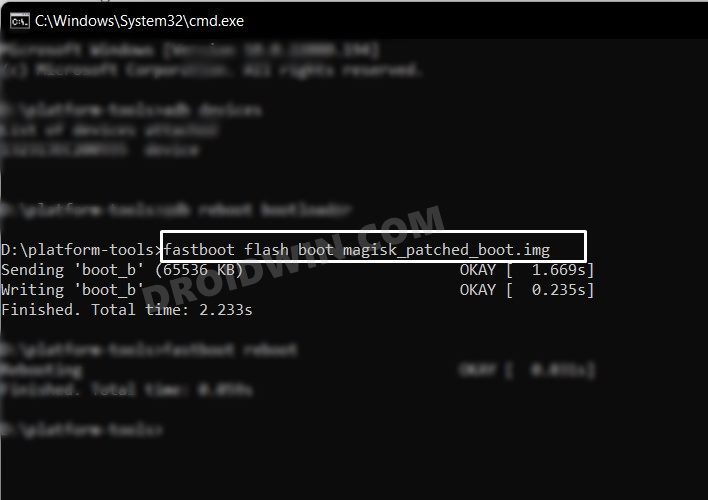
- Then execute the below command to flash the Magisk Patched Boot file:
fastboot flash boot magisk_patched_boot.img
- Finally, execute the below command to boot your device to the OS:
fastboot reboot
That’s it. These were the steps to root your OnePlus Nord CE 2 via Magisk patched boot.img and the OFP firmware. If you have any queries concerning the aforementioned steps, do let us know in the comments. We will get back to you with a solution at the earliest.
FAQ: Device Stuck in Bootloop? Flash vbmeta!
It seems there have been a few under-the-hood changes in the recent firmware released by OnePlus for the Nord CE 2. So what’s changed? Well, before you flash the Magisk patched boot.img file, you might first have to flash the vbmeta.img file to disable the verity check. Here’s how it could be done:
- If your device is currently in a bootloop, then use the hardware key combination to boot to the Fastboot Mode. Or, if it is booted to the OS, then use the below command to boot to Fastboot
adb reboot bootloader
- Then copy the vbmeta.img file from the firmware [that you had earlier extracted in STEP 2] and transfer it to the platform-tools folder on your PC.
- After that, use the below command to flash the vbmeta and hence disable verification
fastboot --disable-verity --disable-verification flash vbmeta vbmeta.img
- Now, flash the Magisk patched boot.img file as explained in STEP 8 or by using the below command
fastboot flash boot magisk_patched_boot.img
- Finally, reboot your device to the OS via the following command
fastboot reboot


bortox
guidecycle (dot) net is translating this content to (in my case) Italian, appears in Google Search Results under your website and contains this page literally translated with also images with watermarks.
JeelPatel
any phone brick issue?? my build no is IV2201_11_A.12.
Sach
How do I get this for A.11?